Basic version
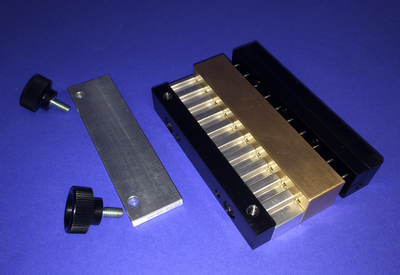
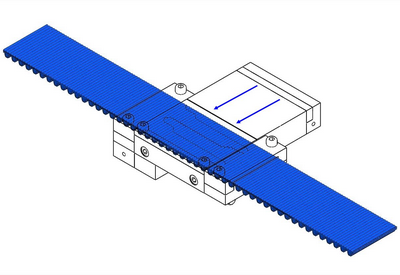
Version with power-on system
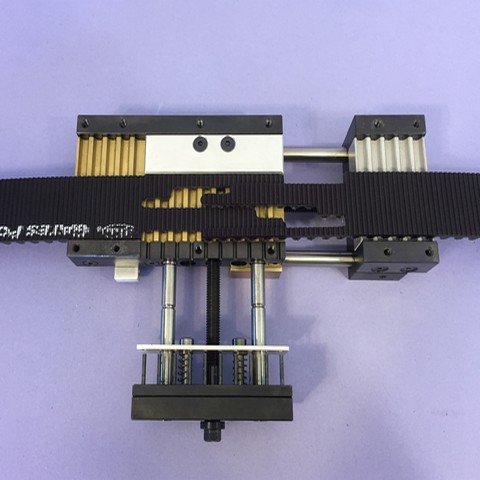
Tension system only
(for ERO Joint® HP)
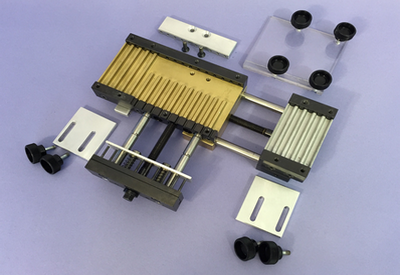
Attaching the Belt
Belt tension
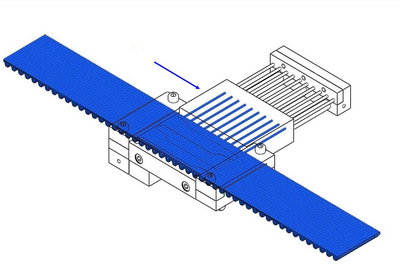
Threading the rods
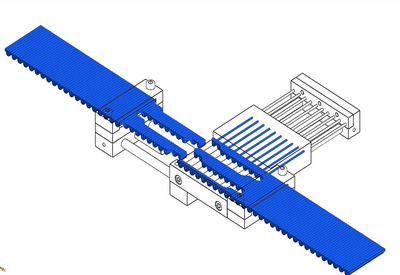
Poly Chain® GT Carbon™ ERO Joint® assembly video with tooling :
For example:
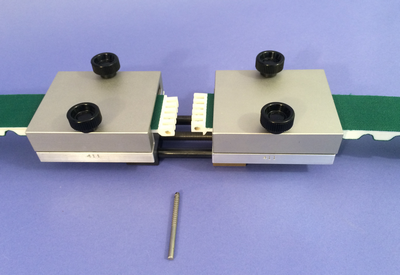
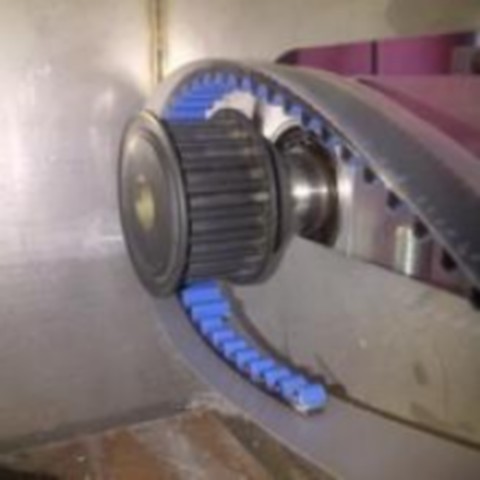
Method of assembling a Poly Chain® GT Carbon™ ERO Joint® Belt with threaded rods.
Step 1
Insert the Belt into the machine. Use the supplied guide to help you.
Stage 2
Place both ends of the Belt in the jaws.
Step 3
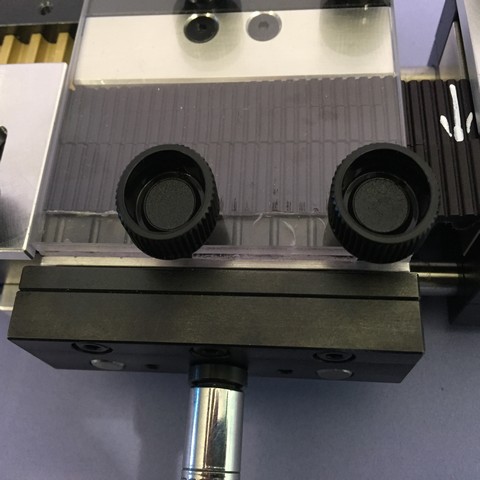
Tighten the tensioning screw.
Step 4
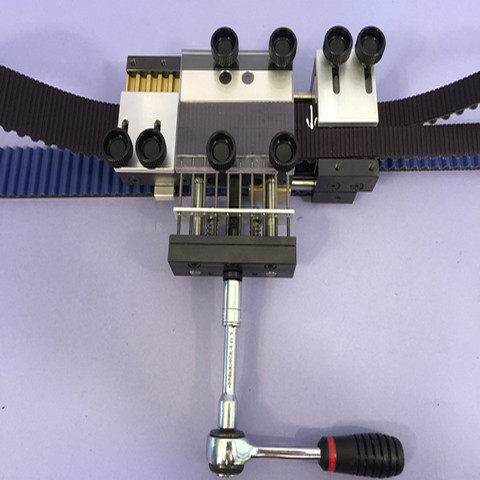
Fit the screws and lock the tool with the central plate. Next, screw in the loading bars so that the rods fit correctly into the Belt.
Step 5
Check that the pins do not extend beyond the ends of the Belt.