Stage 1
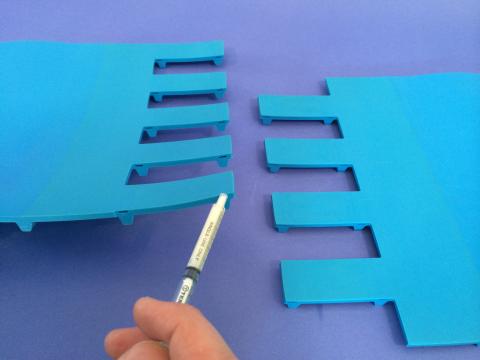
To begin the assembly procedure, brush a little of the solution supplied between each finger of the strip.
(The purpose of this action is to lubricate and make assembly easier).
Stage 2
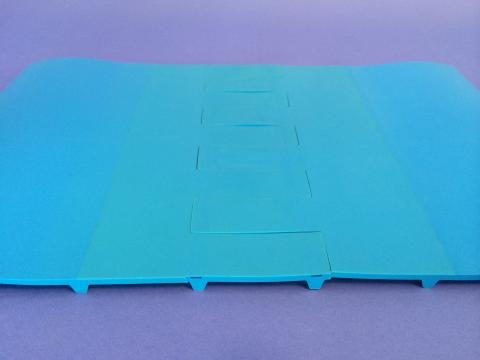
Quickly, before the lubricant dries, assemble the teeth at both ends.
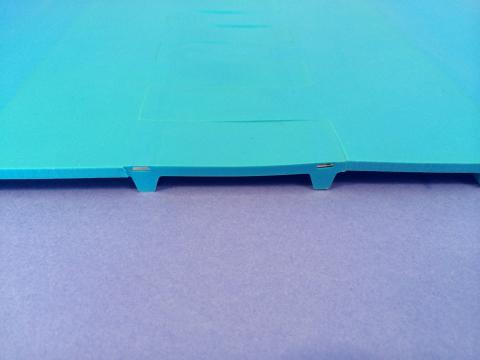
Step 3

Then insert the rods, making sure they are inside the holes (they must not go under the band or outside the teeth).
To make it easier to insert the rods, you can use a board on the band to hold them in place and a vice-grip to advance the rod.
(If you have difficulty moving the rod forward, you can cut it off and repeat the operation on the other side of the strip or even in the middle of the strip.
This also avoids dismantling the edges if they are present).
Step 4
Remember to check that the rods do not protrude beyond the ends, as they could snag.
Also check that they pass through EACH tooth.
Clean and wipe off any excess lubricant that may have leaked out.
For your information, this lubricant complies with FDA standards, so it is neither dangerous nor toxic.
The belt can now be tensioned (in the same way as a "conventional" spliced belt), adjusted and you can restart the conveyor.
The lubricant used will solidify and Glued itself.
Another advantage is that the rods, which are Glued, will never come out of their housing.