Procedure for fitting an ERO Joint® HP Flat belt :
Stage 1
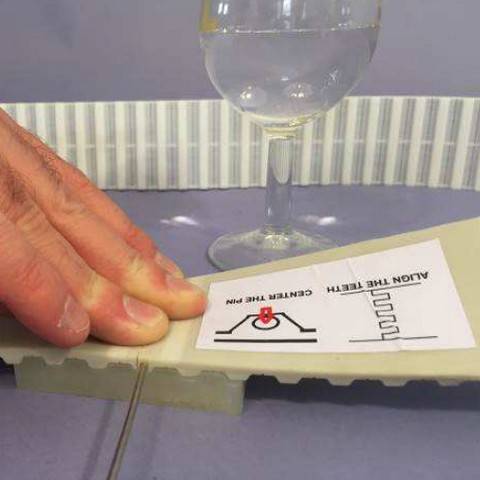
Tooth alignment.
The teeth must be perfectly aligned to prevent damage to the Cords during installation.
Stage 2
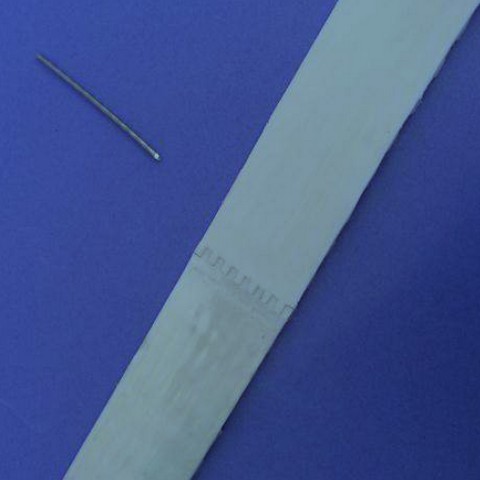
Insert the rod using a screwdriver.
Use water as a lubricant to facilitate insertion.
To ensure perfect alignment, we can supply you with a mounting plate.
Step 3
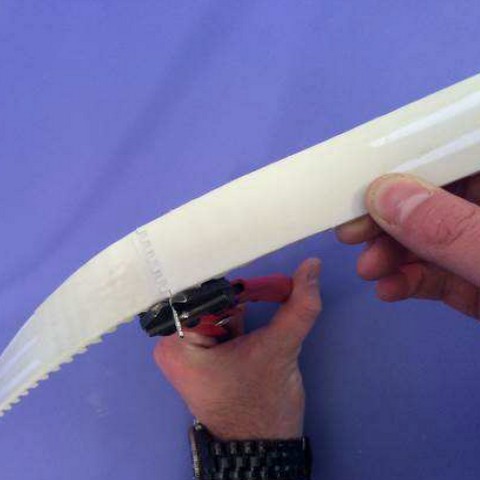
The rod must be cut flush with the Belt.
Step 4
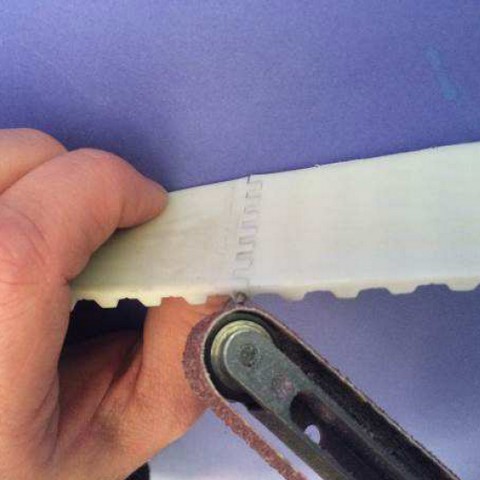
The rod must be ground on both sides of the Belt.
Step 5
To avoid snagging, check that the rod does not extend beyond either end of the Belt.