Analysis of V-belt driving belt failure
There are obvious warnings, such as a noisy transmission, unusual vibrations and heat (overheating of the bearings).
A squealing or whistling Belt is not normal, there must be friction. A hot Belt is another sign of trouble.
Check for any exceptional or abnormal wear on the Belt (wear on the back, wear on the sidewalls, cracked base, hardened outside of the Belt, etc.). Check that the problem is not linked to other transmission components: pulleys, bent or damaged shafts, damaged casing.
Cause of belt damage or premature failure
FINDINGS
DIAGNOSTIC
TIPS
Broken Belt
- Insufficient transmission capacity
- Belt forcing on the transmission
- Foreign object in transmission
- Severe shock
- Recalculate using Design Flex® Pro™ Software.
- Use the adjustment device during assembly
- Protect the transmission with an appropriate housing
- Allow for shocks in the calculation
Belt(s) not transmitting load (slipping); no apparent reason
- Insufficient transmission capacity
- Damaged traction cords
- Damaged pulley grooves
- Variation in centre distance
- Recalculate using Design Flex® Pro™ Software.
- Install correctly
- Assess wear and replace defective components
- Check if the centre distance changes during operation.
Damaged belt flanks
- Pulley misalignment
- Damaged pull cords
- Check and adjust alignment.
- Follow the assembly procedure.
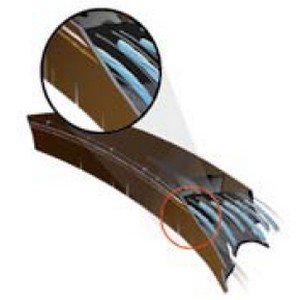
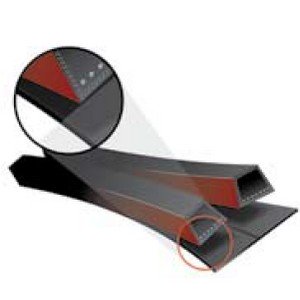
Separating the different layers of the Belt
- Pulleys too small
- Outer roller too small
- Check the transmission calculation and replace with larger Pulleys
- Increase the diameter of the outer roller
Abnormal wear of the Belt
FINDINGS
DIAGNOSTIC
TIPS
Back wear
1. Friction against the housing
2. Roller malfunctioning
1. Replace or repair the housing
2. Replace roller
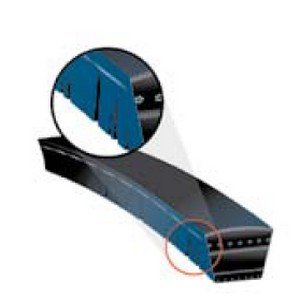
Wear on the upper part of the sidewalls
1. Wrong Belt/pulley combination (Belt too small for groove)
1. Use the correct Belt/Pulley combination
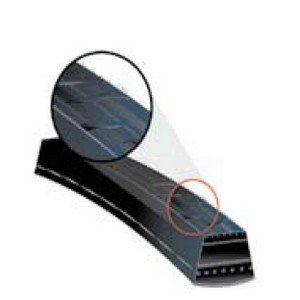
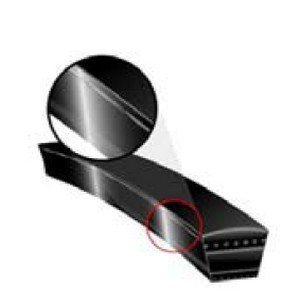
Sidewall wear
1. Skating
2. Misalignment
3. Pulley wear
4. Unsuitable Belt
1. Re-tension until skidding stops
2. Align the pulleys
3. Replace pulleys
4. Use the correct size Belt
Base wear
1. Belt touches bottom of groove
2. Worn pulleys
3. Foreign object in pulleys
1. Use the correct Belt/Pulley combination
2. Replace pulleys
3. Clean pulleys
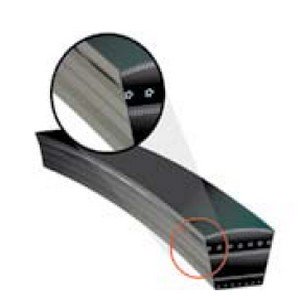
Cracked base
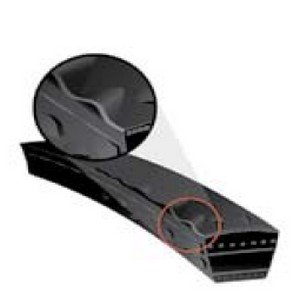
1. Pulley diameter insufficient
2. Skidding
3. Outer roller too small
4. Inappropriate storage
1. Use larger diameter pulleys
2. Re-tension until skidding stops
3. Increase the diameter of the outer roller
4. Do not wind, bend or twist the Belt. Avoid heat and sunlight
Burnt or hardened base or sides
1. Skating
2. Pulley wear
3. Insufficient transmission capacity
4. Variation in centre distance
1. Re-tension until skidding stops
2. Replace the pulleys
3. Recalculate using Design Flex® Pro™ Software.
4. Check if centre distance changes during operation
Unusual noise and vibrations
FINDINGS
DIAGNOSTIC
TIPS
Screeching or whistling
1. Skating
2. Foreign object in transmission
1. Re-tension the transmission
2. Clean Belt and Pulleys
Beat
1. Insufficient voltage
2. Belts of different origin
3. Misalignment
1. Re-tension the transmission
2. Replace with a matched set of Belts
3. Align the Pulleys to distribute the tension evenly across all the belts.
Friction
1. Contact with housing
1. Repair, replace or design a new crankcase
Squeaking
1. Damaged bearings
1. Replace, align and lubricate bearings
Excessively noisy transmission
1. Belt not correctly adjusted
2. Worn pulleys
3. Foreign object in transmission
1. Use the correct size Belt. Use the correct tooth profile for Synchronous belts.
2. Replace the Pulleys
3. Clean the Pulleys and fit a casing. Remove rust, paint or dirt from the grooves.
Jumping Belts
1. Insufficient voltage
2. Belts of different origin
3. Pulley misalignment
1. Re-tension the transmission
2. Replace with a set of Belts
3. Align pulleys
Excessive transmission vibration
1. Belt not correctly adjusted
2. Poor design
3. Eccentric pulley
4. Play on transmission components
1. Use the correct size Belt
2. Check the structure of the transmission and the strength of the bearings and supports.
3. Replace the paired pulley.
4. Check the stability, load capacity, installation and maintenance of the transmission components (casings, motor mountings, motor mounts, hubs, shafts, bearings, etc.).
Multiple transmission problems
FINDINGS
DIAGNOSTIC
TIPS
Separation of the bonding strip
1. Pulley wear
2. Incorrect distance between grooves
1. Replace pulleys
2. Use standard multiple pulleys
Frayed, worn or damaged back of bonding strip

1. Contact with housing
2. Outer roller defective or damaged
1. Check the housing
2. Repair or replace outer roller
Powerband® jumps out of transmission
1. Foreign object in the transmission
1. Clean the Pulleys. Use single belts to avoid dirt build-up in the grooves.
One or more strands come out of the Pulleys
1. Misalignment
2. Insufficient tension
1. Align the transmission
2. Re-tension the transmission